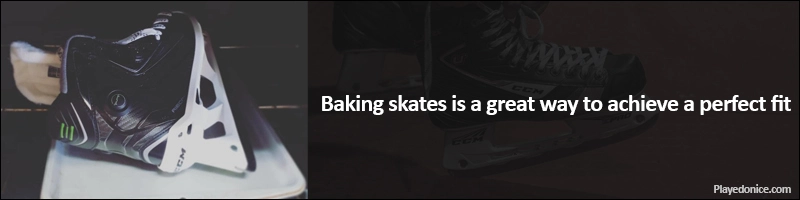
Baking your skates is a good way to get a nice custom fit while breaking them in quicker than it would normally take.
Many a player have this process done by a professional at their local shop, but it’s entirely possible to get it done at home.
Follow these simple instructions to ensure you are properly baking your skates.
Note: Do one skate at a time.
Table of Contents
1) Preheat your oven
You want to preheat your oven to 175 °F. This should only take a couple of minutes, depending on your oven.
175 °F is the ideal temperature to use for the best heat molding experience and is the only heat I recommend.
Others may recommend a higher temperature depending on the skate material your skates are made of, but generally 175 °F should be fine.
2) Prep your skates
While the oven is preheating, you will want to prep your skates.
Loosen the skates by undoing the laces so that the tongue of the skate can move freely.
This will make it easier for you to put your foot in the skate and lace it up once it has finished baking. Ensuring you get the best possible fit from the baking process.
3) Check the oven temperature
If possible, pick up a thermometer to verify the oven preheated to the correct temperature. Often times, ovens can heat up more or less than the temp you set it for.
4) Turn the oven off
Turn off the oven once it has pre-heated.
You do not want any direct heat on your skate during any part of the heat molding process.
Wait to put your skate in for about 20-30 seconds after you shut the oven off to allow the ovens heating sources to cool off.
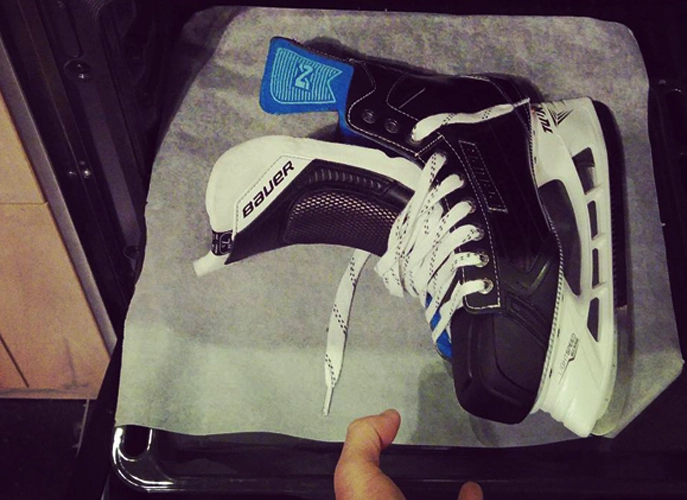
5) Put skate on baking sheet
Now that your oven is preheated and switched off, place your skate on a standard style baking sheet. I like to line the baking sheet with parchment paper first.
6) Place baking sheet in oven
Once your skate is on your baking sheet, place it into the oven. Try to have it in the center of the rack, then close the oven door.
7) Set timer
Set a timer for 5 minutes. Once you set the timer, you shouldn’t leave the room.
Keep an eye on your skate to make sure it doesn’t get too hot.
If you see any part of the skate boot separating, your skate has been in the oven for too long.
8) Check on your skate
Between the 4-5 minutes mark, check on your skates.
Do this by pulling the skate out and feeling the materials to see if the stiffness has improved.
If it hasn’t, leave it in for a 1 to 2 more minutes and then check once more.
When checking your skate, make sure the oven door isn’t open for too long a period of time, as you want the oven to hold its temp.
Use an oven mitt to protect your hands from the heat throughout this entire process.
Once you’re ready to start molding your skate to your feet, ensure you do not touch the skate blade or the eyelets, as they will likely be hot.
9) Start molding
Once you have determined that the material has loosened up, you will want to start the molding process.
Gently slide your foot into the boot, ensure your heel is all the way against the back and that the tongue is square.
Start lacing them up, you want to make sure they are done up tight enough so that the boot can form to your feet, but at the same time you want to ensure you don’t damage the eyelets by pulling too roughly.
The eyelets can be pulled out during this stage if you are not careful. Ensure you are pulling the laces outwards from the eyelets while tying your skates, not at an angle.
Once done up, sit down with your knee bent like it would be as if you were skating, preferably a 90-degree angle.
Avoid walking around during this process to achieve the best fit.
Now, just let it mold to your foot for about 15 minutes.
10) Take the skate off
Once you have sat through the molding process for 15 minutes, unlace the skate and take it off.
Then, re-lace the skate and keep it in an upright position to let it cool for 24 hours. 24 hours is enough time to ensure the material of your skate has hardened back up.
You’re done!
You’ve just broken them in without having to deal with the dreaded period of time when your skates are uncomfortable!
Something to keep in mind, some skates come with special instructions on how to bake that particular set. So be sure to read that beforehand.
If possible, I always recommended you have them baked by a professional to avoid causing any potential damage. Because remember, if you aren’t careful you can damage your skates beyond repair.
If you do insist on baking your own skates, remember your oven is hot and your skates will likely be hot too. Take all precautions necessary to deal with the heat to avoid burning yourself.
Baking skates at home can potentially ruin them if you don’t do it properly. Proceed at your own risk.
Should you bake your own skates?
Baking your own skates can save you some time and money if you do it correctly. If you don’t do it correctly, it can also cost you time and money.
Let’s take a look at the benefits and disadvantages of baking your own hockey skates at home.
Benefits of baking your skates at home
- Save money by not having to pay the pro shop
- Breaks your skates in faster than normal
- Provides you with the best possible fit
- Reduce the pain that comes with a new pair of skates
Disadvantages of baking your skates at home
- Cheap skates made from low-end materials will break down faster than a higher quality skate during the baking process
- Can’t use skates for 24 hours after baking
- The more you bake, the faster your boots will wear out
- You can destroy your skates if you don’t do it properly
There you have it, the benefits and disadvantages that come with baking your own hockey skates at home.
Can you bake skates more than once?
Baking your hockey skates is a quick way to break them in. But what if your skate becomes a bit loose after you’ve already baked them, or if you bought a used pair of skates that has already been baked, can you bake your hockey skates more than once?
Yes! You can bake your hockey skates more than once. Typically, you can bake a pair of skates 1-3 times without issue. Baking your skates more than 3 times can cause your skates to deteriorate prematurely.
Baking your skates can go wrong pretty quickly, if you insist on doing it yourself rather than having it done by a professional, make sure you are doing it right.
Final thoughts
Baking your skates at home is a great way to get a customized fit while breaking them in faster than it would normally take, but it’s important to do it properly.
Don’t wander off while your skates are in the oven, you need to be observing your skates at all time.